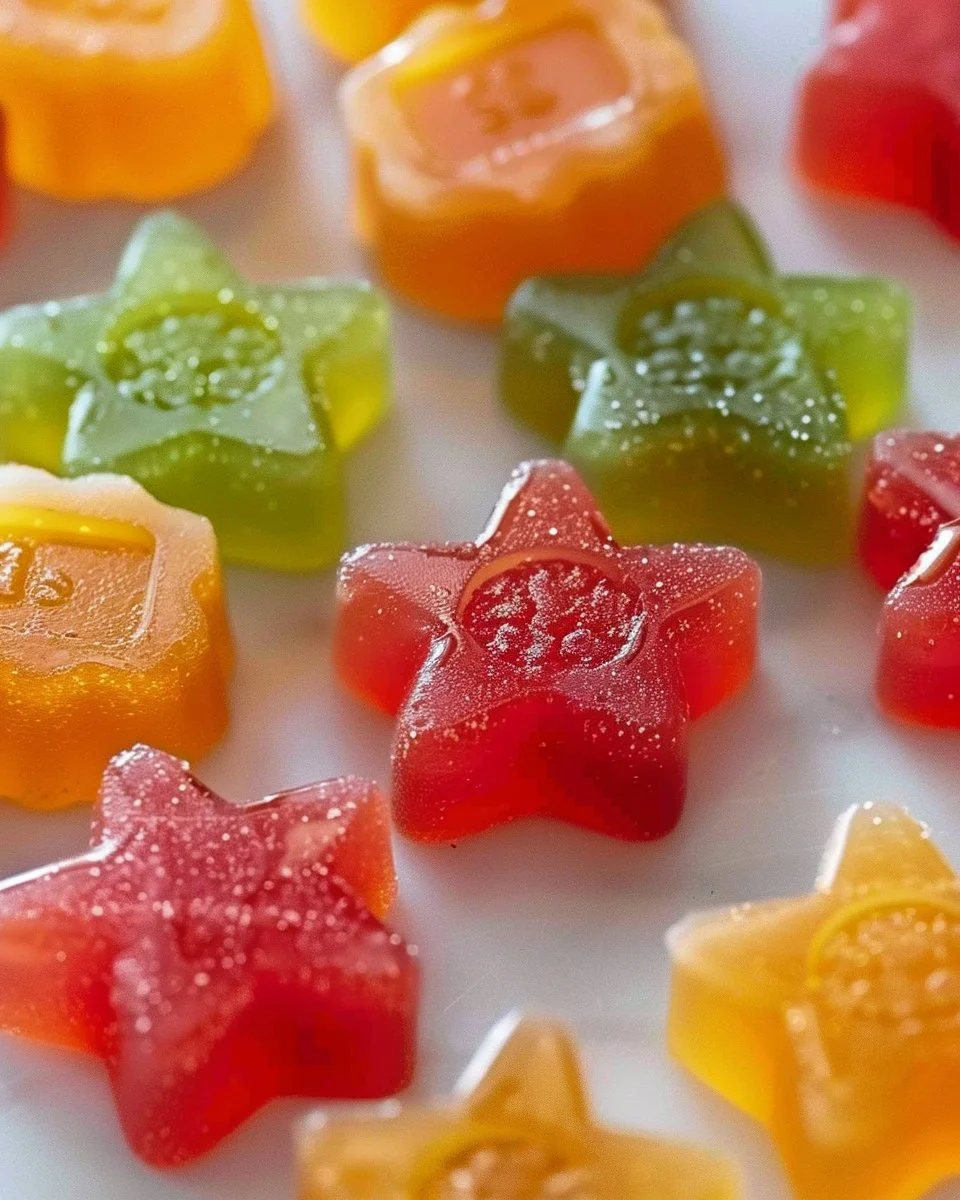
Homemade Fruit Gummies: A Fun and Healthy Treat
Remember the joy of biting into a chewy fruit gummie as a kid? If you’ve ever craved that nostalgic taste but wanted a healthier version, homemade fruit gummies are your answer. They not only satisfy your sweet tooth but can also be customized to fit your dietary needs and taste preferences. This delicious treat is more than just a snack; it’s an opportunity to create something unique in your own kitchen. Whether you’re aiming to satisfy a craving, impress your family, or simply enjoy a fun project, making homemade fruit gummies is a delightful way to engage with food.
Dive into the World of Homemade Gummies
Making your own fruit gummies can feel like a creative endeavor, allowing you to experiment with flavors and colors while controlling the ingredients. Why does this matter? Many store-bought gummies are packed with artificial flavors, colors, and high-fructose corn syrup. By choosing to make them at home, you can eliminate unwanted additives and create a treat that’s not only healthier but also tailored to your liking.
The Sweet Benefits of Homemade Gummies
- Control Over Ingredients: You choose the fruit juices, sweeteners, and gelatin sources.
- Healthier Alternatives: Use natural fruit purees and juices to provide vitamins and nutrients.
- Customization Options: Try various juice combinations to create new flavors like mango-pineapple or beet-strawberry.
- Great for All Ages: These gummis are delightful for kids and adults alike, making them perfect for family gatherings or parties.
Gather Your Ingredients
To start making your homemade fruit gummies, you’ll need just a few key ingredients and tools that are likely already in your kitchen:
- 1 cup fruit juice: Choose your favorites, such as orange, apple, or grape.
- 1/2 cup carrot juice: Adds sweetness and a nutrient boost.
- 1/4 cup honey or maple syrup (optional): Sweeten to taste.
- 2 tablespoons gelatin: This is the magic ingredient that gives gummies their chewy texture.
- 1/2 cup water: For blooming the gelatin and creating the perfect consistency.
Additional Juice Combinations: If you want to explore, consider trying flavors like beet & strawberry or spinach & kiwi for unique colors and tastes.
Step-by-Step Guide to Your Homemade Gummies
- Prepare the Gelatin: In a small bowl, sprinkle the gelatin over the water and let it sit for about 5 minutes. This step is crucial in achieving that perfect gummy texture.
- Heat the Juice: In a saucepan, combine your fruit juice and carrot juice. Over medium heat, warm the mixture until it’s hot but not boiling.
- Mix in the Gelatin: Once the juice is heated, remove it from the heat and slowly stir in the bloomed gelatin. Mix well until fully dissolved.
- Sweeten if Desired: If you choose to add honey or maple syrup, now is the time. Stir until well combined.
- Pour and Set: Carefully pour the mixture into gummy molds or a shallow baking dish. If using a dish, you can cut them into squares once they are set.
- Chill and Enjoy: Place them in the refrigerator for at least 2-3 hours until solid. Once they’re set, pop them out of the molds or cut them into squares and enjoy!
Expert Tips for Perfect Gummies
- Mold Matters: Silicone molds are best for easy removal and come in various fun shapes.
- Storage: Keep your gummies in an airtight container in the fridge. They can last up to two weeks, but they’re so delicious, they might not last that long!
- Experiment with Flavors: Don’t be afraid to try unique juice combinations and even herbs for added flavor. Mint with lime juice can provide a refreshing twist!
Common Mistakes to Avoid
- Overheating the Juice: Boiling can break down the enzymes in the juice, affecting the flavor and texture.
- Not Letting Gelatin Bloom: Skipping the blooming step can result in a grainy texture.
- Using Low-Quality Ingredients: For the best taste, choose fresh juices and high-quality gelatin.
How to Serve Your Homemade Gummies
Homemade fruit gummies make great on-the-go snacks for both kids and adults. You can also serve them at parties, using them as toppings for desserts, or even mix them into yogurt for a fruity kick.
Nutritional Notes on Your Gummies
While homemade fruit gummies are a healthier alternative to store-bought options, it’s important to note that they are still a treat. The inclusion of fruit juice provides beneficial vitamins, but these gummies can be high in sugars whether from natural sources or added sweeteners. Enjoy them in moderation!
FAQs About Homemade Fruit Gummies
How do I make homemade fruit gummies?
To make homemade fruit gummies, mix fruit juice with gelatin and other ingredients, pour into molds, and chill until set.
What if I don’t have gelatin?
You can use agar-agar as a vegan alternative, but the texture might differ slightly.
Can I store homemade fruit gummies?
Yes, store them in an airtight container in the refrigerator where they’ll last for up to two weeks.
What are some popular flavor combinations?
Popular flavors include mixed berry, tropical fruits, and citrus blends.
Are homemade fruit gummies healthier than store-bought ones?
Yes, because you can control the ingredients, avoiding artificial additives and sugars.
The Final Bite
Making homemade fruit gummies is not just about creating a sweet treat; it’s about bringing a little joy to your kitchen and knowing exactly what you’re consuming. By following these guidelines and tips, you can channel your inner child while crafting a snack that’s both delicious and nutritious. So grab those molds, get creative, and enjoy the delightful experience of making homemade fruit gummies. Your taste buds will thank you!
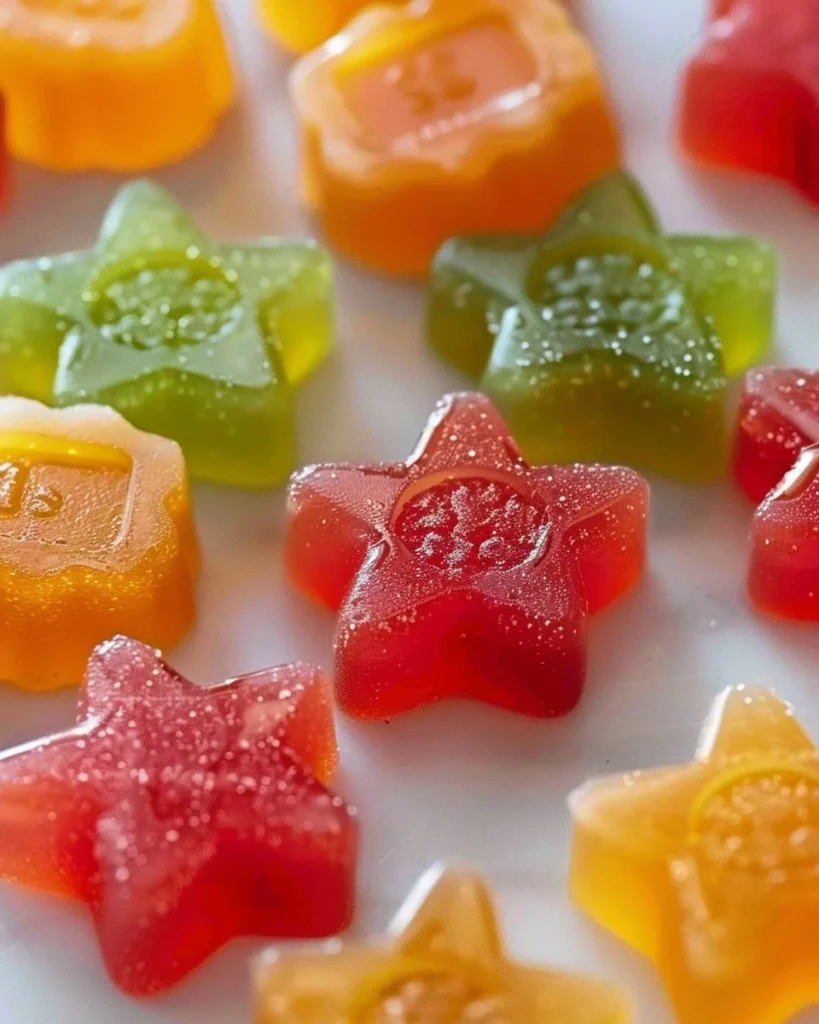
Homemade Fruit Gummies
Ingredients
Method
- In a small bowl, sprinkle the gelatin over the water and let it sit for about 5 minutes.
- In a saucepan, combine your fruit juice and carrot juice. Heat over medium until hot but not boiling.
- Remove from heat and stir in the bloomed gelatin until fully dissolved.
- Add honey or maple syrup if desired and stir until combined.
- Pour the mixture into gummy molds or a shallow baking dish.
- Chill in the refrigerator for at least 2-3 hours until solid.