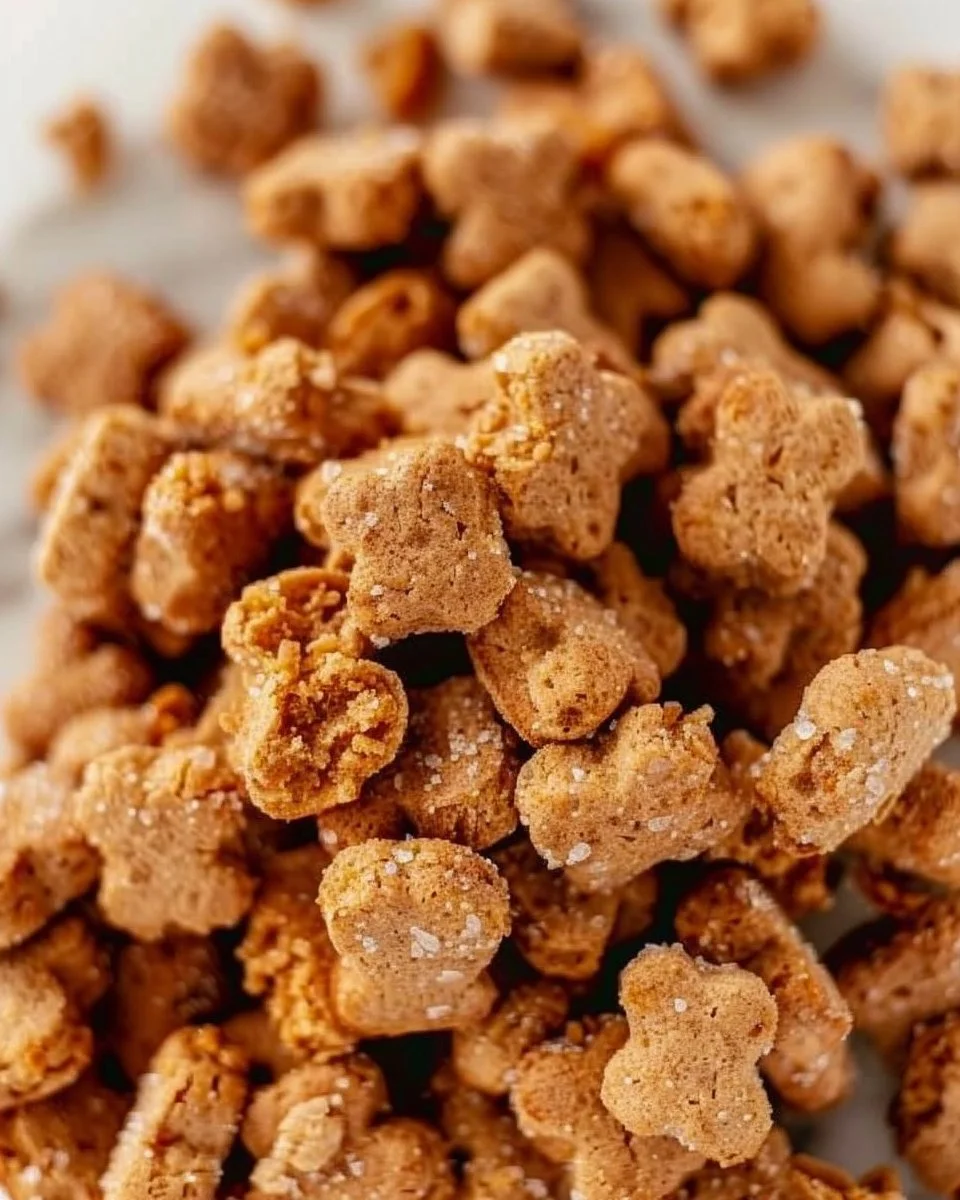
Homemade Teddy Grahams: A Sweet Journey Back to Childhood
Remember those tiny, adorable teddy-shaped cookies you savored as a child? There’s something uniquely comforting about biting into a sweet, crunchy treat that takes you back to sunny days filled with laughter and imagination. But what if I told you that you could bring that same nostalgia home and create homemade Teddy Grahams with wholesome ingredients? Today, we’re delving into the delightful world of DIY Teddy Grahams, where you not only have control over what goes into your snacks but also get to enjoy the fun of baking with family or friends.
Why Make Your Own Teddy Grahams?
The world of snacks is saturated with processed options, many of which contain additives and preservatives. By whipping up your own batch of homemade Teddy Grahams, you can:
- Control Ingredients: Choose gluten-free, dairy-free, or organic options based on your dietary preferences.
- Customize Flavors: Experiment with different additives like chocolate chips, honey, or spices to suit your taste.
- Experience the Joy of Baking: There’s immense satisfaction in creating your own treats, not to mention the delightful aromas that will fill your kitchen!
Here’s everything you need to know to get started on your homemade Teddy Graham adventure.
Key Ingredients You’ll Need
Making your own Teddy Grahams is simple! Here’s a list of must-have ingredients to ensure your cookies come out perfect:
- Gluten-Free Flour: 3 1/2 cups total for the various cookie doughs.
- Cocoa Powder: For a rich chocolate flavor in your brownies.
- Dairy-Free Butter: Softened, to help bind the ingredients together.
- Coconut Milk: A lovely dairy substitute that contributes to moisture.
- Sugar: Regular cane sugar and coconut sugar work great.
- Vanilla Extract: Adds warmth and sweetness.
- Salt: Essential for balancing flavors.
- Honey or Maple Syrup: A natural sweetener that can also help with texture.
Let’s dive into the step-by-step process of creating your homemade treats!
Step-by-Step Guide to Homemade Teddy Grahams
Step 1: Gather Your Ingredients
Before you start baking, ensure you have all your ingredients measured and ready to go. Here’s what your shopping list should look like:
- 1 cup + 2 tbsp (144g) gluten-free flour
- 1/2 cup (40g) cocoa powder
- 1/4 tsp salt
- 1/4 cup (56g) dairy-free butter, softened
- 2 tbsp (30g) coconut milk
- 1/2 tsp vanilla extract
- 2/3 cup (140g) cane sugar
- 2 tbsp (40g) agave or maple syrup
- 1 1/4 cup (160g) gluten-free flour
- 1/4 tsp salt
- 1/4 cup (56g) dairy-free butter, softened
- 3 tbsp (45g) coconut milk
- 1 tsp vanilla extract
- 2/3 cup (140g) cane sugar
- 3 tbsp (30g) mini chocolate chips, chopped
- 1 1/4 cup + 2 tbsp (176g) gluten-free flour
- 1/4 tsp salt
- 1 tsp cinnamon
- 1/4 cup (56g) dairy-free butter, softened
- 2 tbsp (30g) coconut milk
- 1/2 tsp vanilla extract
- 1/3 cup (70g) cane sugar
- 1/4 cup (45g) coconut sugar
- 2 tbsp (40g) honey (or maple syrup for vegan)
Step 2: Make the Dough
- Mix Dry Ingredients: In a large bowl, combine the gluten-free flour, cocoa powder (for chocolate Teddy Grahams), salt, and sugar. For cinnamon-flavored ones, simply add cinnamon to this mixture.
- Combine Wet Ingredients: In another bowl, mix softened dairy-free butter, coconut milk, and vanilla extract until you achieve a smooth consistency.
- Combine Dry and Wet: Gradually add the wet mixture to the dry, stirring until a dough forms. Tackle any stubborn clumps with a few gentle kneads.
Step 3: Shape Your Teddy Grahams
- Chill the Dough: Wrap the dough in plastic wrap and chill for about 30 minutes in the refrigerator. This step helps prevent the cookies from spreading too much while baking.
- Roll and Cut: Preheat your oven to 350°F (175°C). Dust your work surface with flour and roll out the dough to about 1/4 inch thickness. Use a teddy bear-shaped cutter to cut out your cookies.
- Place on Baking Sheet: Line a baking sheet with parchment paper and arrange your teddy bears, leaving space between each one for spreading.
- Bake: Pop your cookies into the oven and bake for 10-12 minutes, or until they are slightly golden and firm to the touch.
Step 4: Cool and Enjoy
Allow the cookies to cool on the baking sheet for a few minutes before transferring them to a wire rack to cool completely. This step is crucial for achieving perfect texture!

Fun Serving Ideas for Your Homemade Teddy Grahams
Now that you’ve successfully baked your Teddy Grahams, how can you enjoy them? Here are some delightful serving ideas:
- Snack Time: Serve them plain or with a cup of almond or oat milk for a nostalgic treat.
- Decorate with Icing: Use homemade or store-bought icing to decorate your cookies and let the kids join in on the fun.
- Teddy Graham Trail Mix: Toss your Teddy Grahams with dried fruits, nuts, and a sprinkle of chocolate chips to create a heavenly trail mix.
- Add to Desserts: Crumble them over ice cream or yogurt for an extra crunch.
Common Mistakes to Avoid When Making Teddy Grahams
- Overmixing the Dough: This can lead to tough cookies. Mix just until combined.
- Not Chilling the Dough: Skipping the chill time could result in spread-out cookies.
- Inaccurate Measurements: Baking is as much a science as it is an art, so be precise with your measurements.
Storage Tips for Your Teddy Grahams
To keep your homemade Teddy Grahams fresh and delicious, store them in an airtight container. They can last for about a week at room temperature or up to two weeks in the refrigerator. If you want to keep them longer, consider freezing them for up to three months. Just make sure to place a layer of parchment paper between layers to prevent sticking.
Frequently Asked Questions
- Can I make these Teddy Grahams gluten-free?
Absolutely! This recipe already includes gluten-free flour. - How can I make these cookies less sweet?
You can reduce the amount of sugar or opt for a sugar alternative. - Do you have any variations for types of Teddy Grahams?
Sure! You can add spices like cinnamon or nutmeg or incorporate mini chocolate chips for a chocolate chip version. - How do I get my cookies to hold their shape?
Chilling the dough before baking is key to maintaining the teddy bear shape! - What should I serve with my Homemade Teddy Grahams?
They pair wonderfully with milk, coffee, or even as a topping for ice cream!
Wrapping It Up
Baking your own homemade Teddy Grahams is not just about the cookies; it’s about creating memories, embracing creativity, and indulging in a treat that feels good to create and even better to eat. Enjoy the delightful experience of baking, tasting, and sharing these little bear-shaped wonders with your friends and family. Happy baking!
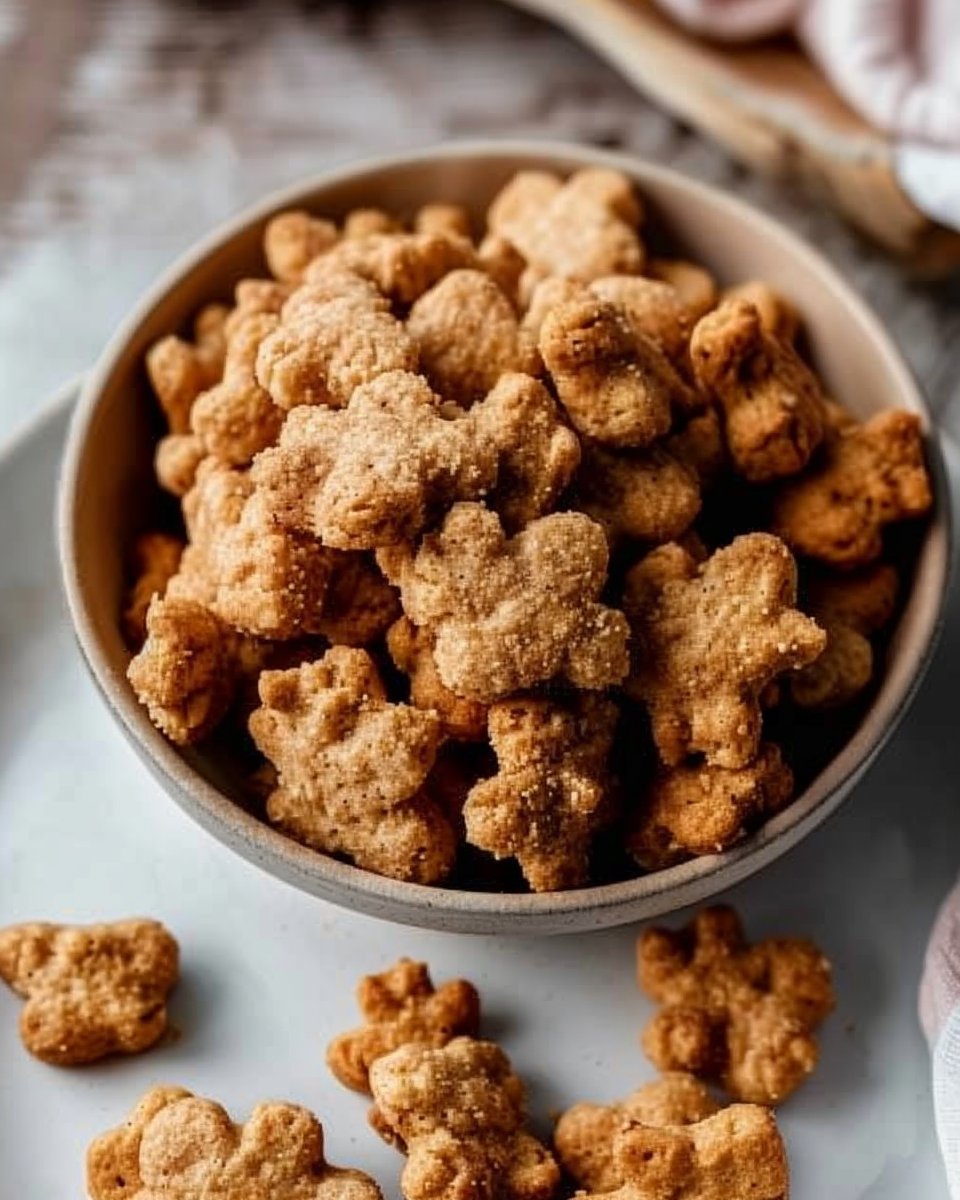
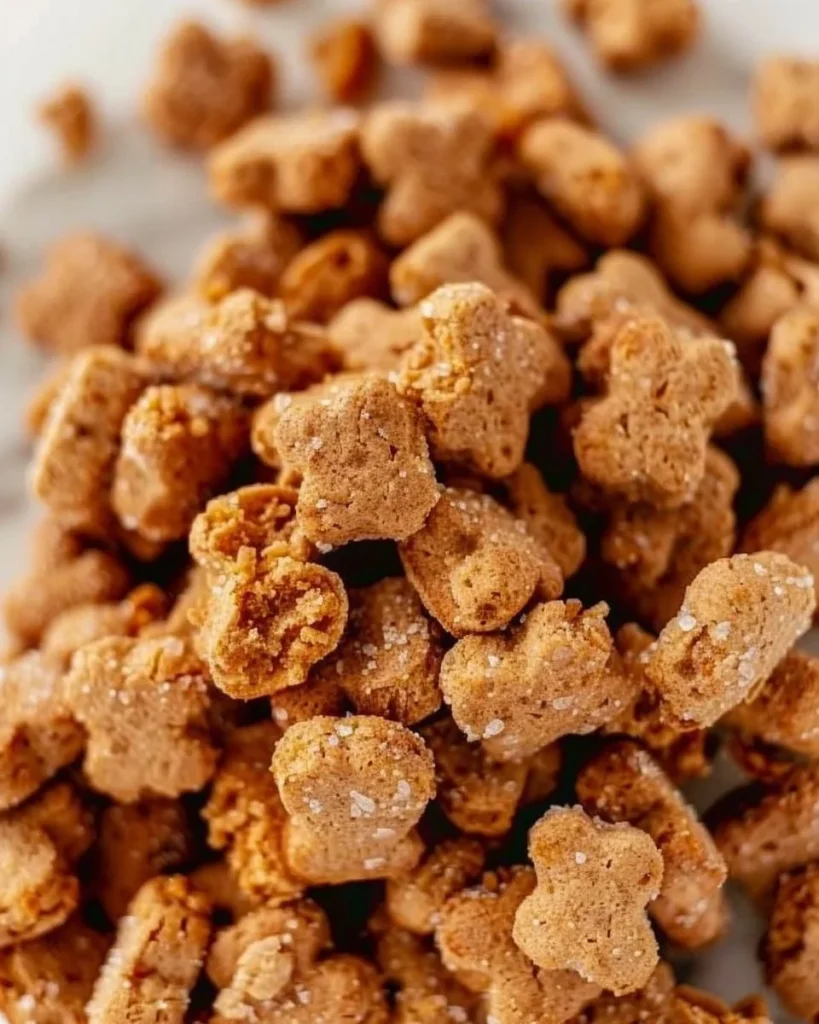
Homemade Teddy Grahams
Ingredients
Method
- Gather all your ingredients and measure them as listed.
- In a large bowl, combine the 3.5 cups of gluten-free flour, cocoa powder, salt, and sugar.
- In another bowl, mix the softened dairy-free butter, coconut milk, and vanilla extract until smooth.
- Gradually add the wet mixture to the dry ingredients, stirring until a dough forms.
- Knead the dough gently if there are stubborn clumps.
- Wrap the dough in plastic wrap and chill in the refrigerator for about 30 minutes.
- Preheat your oven to 350°F (175°C).
- Dust your work surface with flour and roll out the dough to about 1/4 inch thickness.
- Use a teddy bear-shaped cutter to cut out your cookies.
- Place the cut cookies on a lined baking sheet, leaving space between them.
- Bake the cookies for 10-12 minutes, or until slightly golden and firm.
- Allow cookies to cool on the baking sheet for a few minutes, then transfer to a wire rack.