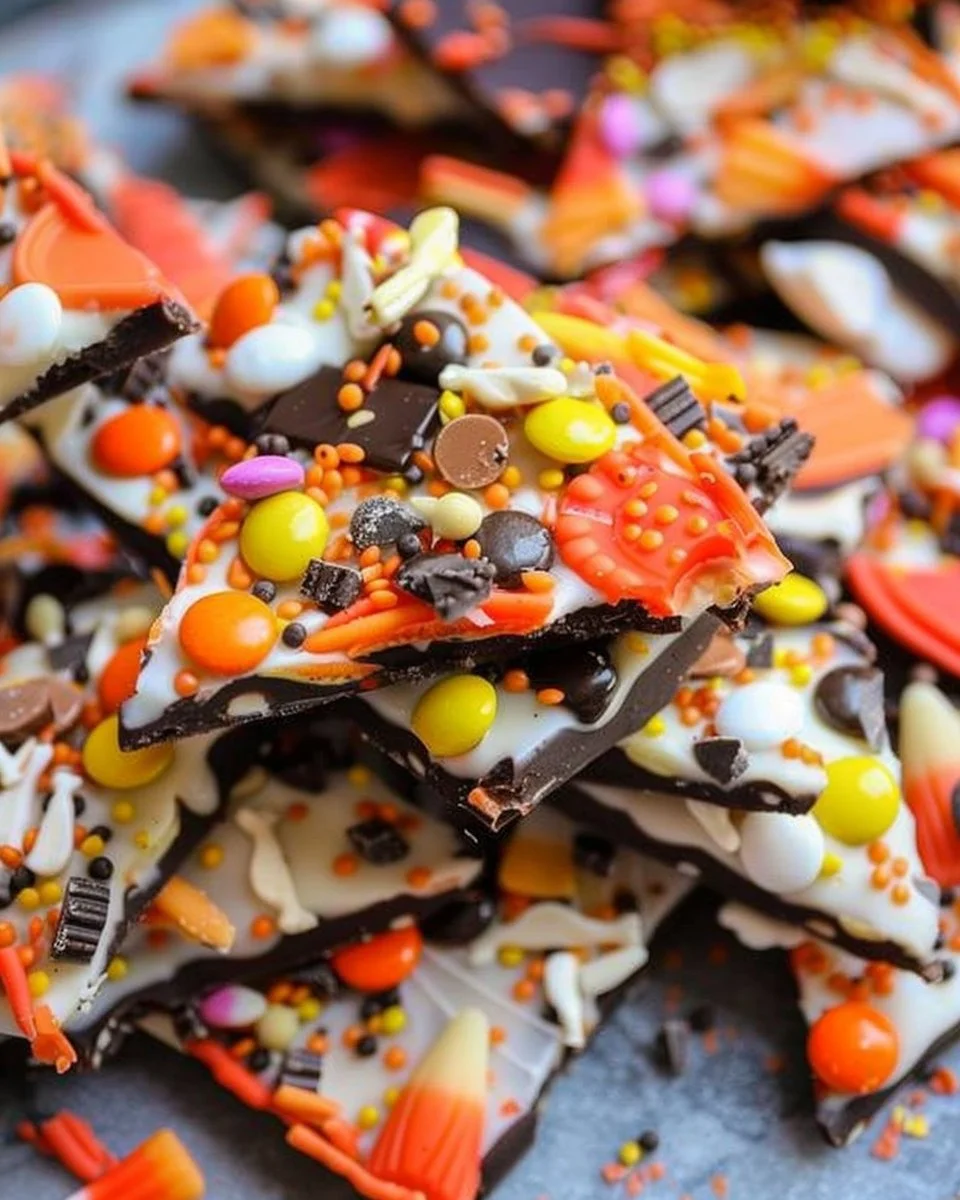
Unwrap the Fun with Halloween Candy Bark
Halloween is a magical time filled with costumes, decorations, and, of course, candy! As the nights grow longer and the air turns crisp, parents and kids alike find themselves entangled in the excitement of trick-or-treating. But what if you could channel that festive spirit into something creative and delicious? Enter: Halloween Candy Bark. This delightful treat is not just a feast for the taste buds; it’s also an engaging activity that brings families together. Whether you’re hosting a Halloween party, looking for fun treats for school, or simply wanting to satisfy your sweet tooth, creating Halloween Candy Bark is an easy and versatile way to celebrate.
Why You Should Make Halloween Candy Bark
Halloween Candy Bark is more than just a dessert; it’s a creative outlet that can be customized to suit your tastes and preferences. Whether you’re a chocolate lover, a fan of fruity gummies, or enjoy the crunch of candy corn, you can craft a candy bark that reflects your unique style. Plus, this treat is incredibly easy to make and requires minimal ingredients, making it perfect for last-minute Halloween preparations.
The Essential Ingredients for Halloween Candy Bark
To whip up your own Halloween Candy Bark, you won’t need a long list of complicated ingredients. Here’s everything you’ll need:
- 8 oz chocolate (milk, dark, or white)
- 1 cup assorted Halloween candies (M&Ms, Reese’s Pieces, gummy worms, etc.)
- Sprinkles (optional)
By keeping your ingredient list simple, you can easily balance flavors while still allowing for vibrant and playful designs.
Create Your Own Spooktacular Bark: A Step-by-Step Guide
Now that you have your ingredients ready, it’s time to get crafting! Follow these simple steps to create your Halloween Candy Bark masterpiece.
- Melt the Chocolate: Begin by gently melting the chocolate of your choice. You can do this in a microwave, heating in 30-second intervals, or using a double boiler on the stovetop. Stir until smooth and fully melted.
- Prepare the Pan: Line a baking sheet with parchment paper. This will make it easier to remove the bark once it cools.
- Pour the Chocolate: Once melted, pour the chocolate onto the prepared baking sheet, using a spatula to spread it into an even layer.
- Add the Candy: While the chocolate is still warm, sprinkle your assorted Halloween candies across the surface. Get creative! You can create patterns or leave it more random for that whimsical Halloween vibe.
- Top with Sprinkles: If you’re feeling extra festive, add a sprinkle of colorful sprinkles for that final touch of pizzazz.
- Cool and Set: Allow the chocolate to cool at room temperature or place it in the fridge for about 30 minutes until fully hardened.
- Break into Pieces: Once set, remove the bark from the parchment paper and break it into pieces.
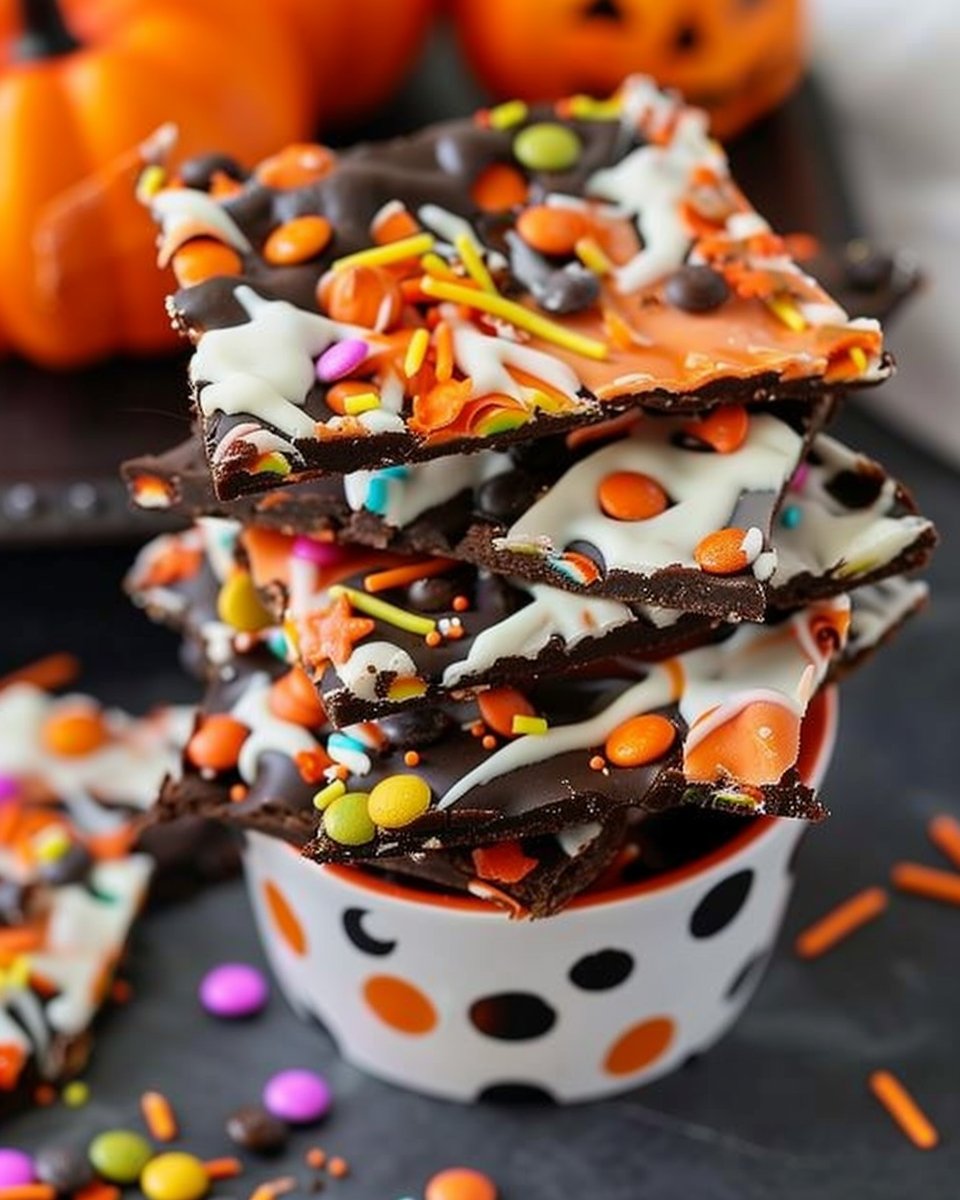
- Serve and Enjoy: Your Halloween Candy Bark is ready to be enjoyed! You can serve it in a festive bowl or wrap it up as treats for friends and neighbors.
Tips for Perfect Halloween Candy Bark
To make sure your candy bark turns out flawlessly, keep the following expert tips in mind:
- Quality Chocolate Matters: Use high-quality chocolate for a smoother melt and better flavor. Brands like Ghirardelli or Callebaut are fantastic options.
- Experiment with Flavors: If you’re feeling adventurous, try adding a pinch of sea salt, or drizzling caramel or peanut butter over the melted chocolate before adding candies.
- Storage: Store any leftover bark in an airtight container at room temperature for up to a week. This ensures freshness and that irresistible crunch.
Creative Variations to Consider
Don’t be afraid to think outside the box! Here are a few fun variations to try:
- Seasonal Switch-Up: Substitute your Halloween candies with Thanksgiving-themed options like fall-colored M&Ms or cranberries for Thanksgiving, or red and green candy for Christmas.
- Healthy Twist: Use dark chocolate and top the bark with nuts, dried fruits, or seeds to add a healthier touch without sacrificing the fun!
- Themed Bark: For more thematic options, try creating a spooky ghost bark with white chocolate and eyeball candies.
Common Mistakes to Avoid
While Halloween Candy Bark is pretty forgiving, there are a few pitfalls to dodge:
- Not Cooling Long Enough: Ensure your bark is completely set before breaking it into pieces to avoid a melty mess.
- Overcrowding with Candies: While it’s tempting to pile on the candies, too much can lead to unstable bark that crumbles easily.
- Using Low-Quality Chocolate: Cheap chocolate may not melt well or can taste overly sweet, so choose wisely.

Storing and Keeping Your Bark Fresh
If you find yourself with extras (if there is such a thing!), store your Halloween Candy Bark in an airtight container at room temperature. It can last for about a week before the texture and flavor start to diminish. If you want to keep it longer, consider freezing portions. Just be sure to separate layers with parchment paper to prevent sticking.
Frequently Asked Questions About Halloween Candy Bark
What is Halloween Candy Bark?
Halloween Candy Bark is a chocolate treat sprinkled with various Halloween-themed candies, perfect for sharing or snacking.
How can I make Halloween Candy Bark healthier?
Opt for dark chocolate and replace confectionery items with nuts or dried fruits for a nutritious twist.
Can I use any type of chocolate for my candy bark?
Yes! You can use milk, dark, or white chocolate based on your preference.
How do I store leftover Halloween Candy Bark?
Store leftover bark in an airtight container at room temperature for up to a week, or freeze for later enjoyment.
What’s the best way to make my Halloween Candy Bark more festive?
You can add colorful sprinkles, themed candies, or drizzle with contrasting chocolate to enhance the festive look!
Conclusion
Making Halloween Candy Bark is more than a sweet treat—it’s an invitation for creativity and fun during the enchanting Halloween season. Whether you’re sharing it with friends, gifting it as a spooky surprise, or simply indulging in the festive spirit, this treat captures the essence of Halloween delight. With such straightforward steps and endless variations, you’ll never run out of ways to add your own twist to this classic favorite. So grab your ingredients and get ready to make Halloween a little sweeter with your homemade candy bark!
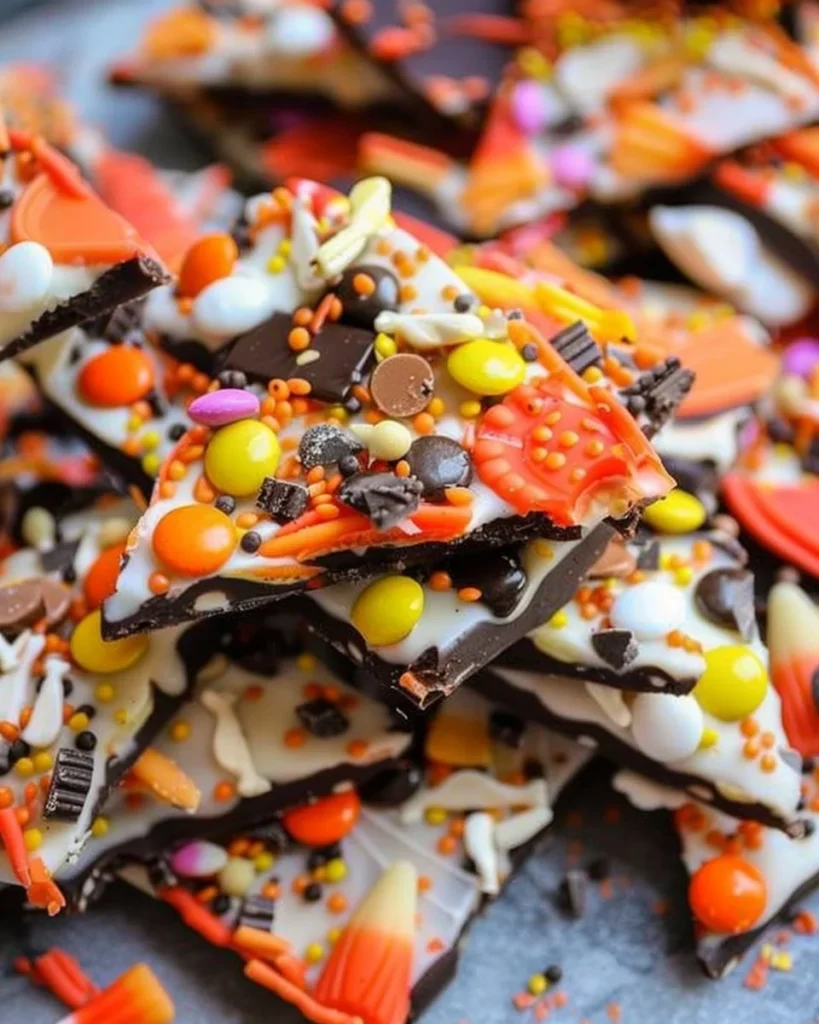
Halloween Candy Bark
Ingredients
Method
- Begin by gently melting the chocolate of your choice. You can do this in a microwave, heating in 30-second intervals, or using a double boiler on the stovetop. Stir until smooth and fully melted.
- Line a baking sheet with parchment paper to make it easier to remove the bark once it cools.
- Once melted, pour the chocolate onto the prepared baking sheet, using a spatula to spread it into an even layer.
- While the chocolate is still warm, sprinkle your assorted Halloween candies across the surface. Get creative with patterns or go with a more random design.
- If you’re feeling extra festive, add a sprinkle of colorful sprinkles on top.
- Allow the chocolate to cool at room temperature or place it in the fridge for about 30 minutes until fully hardened.
- Once set, remove the bark from the parchment paper and break it into pieces.
- Serve your Halloween Candy Bark in a festive bowl or wrap it up as treats for friends and neighbors.